
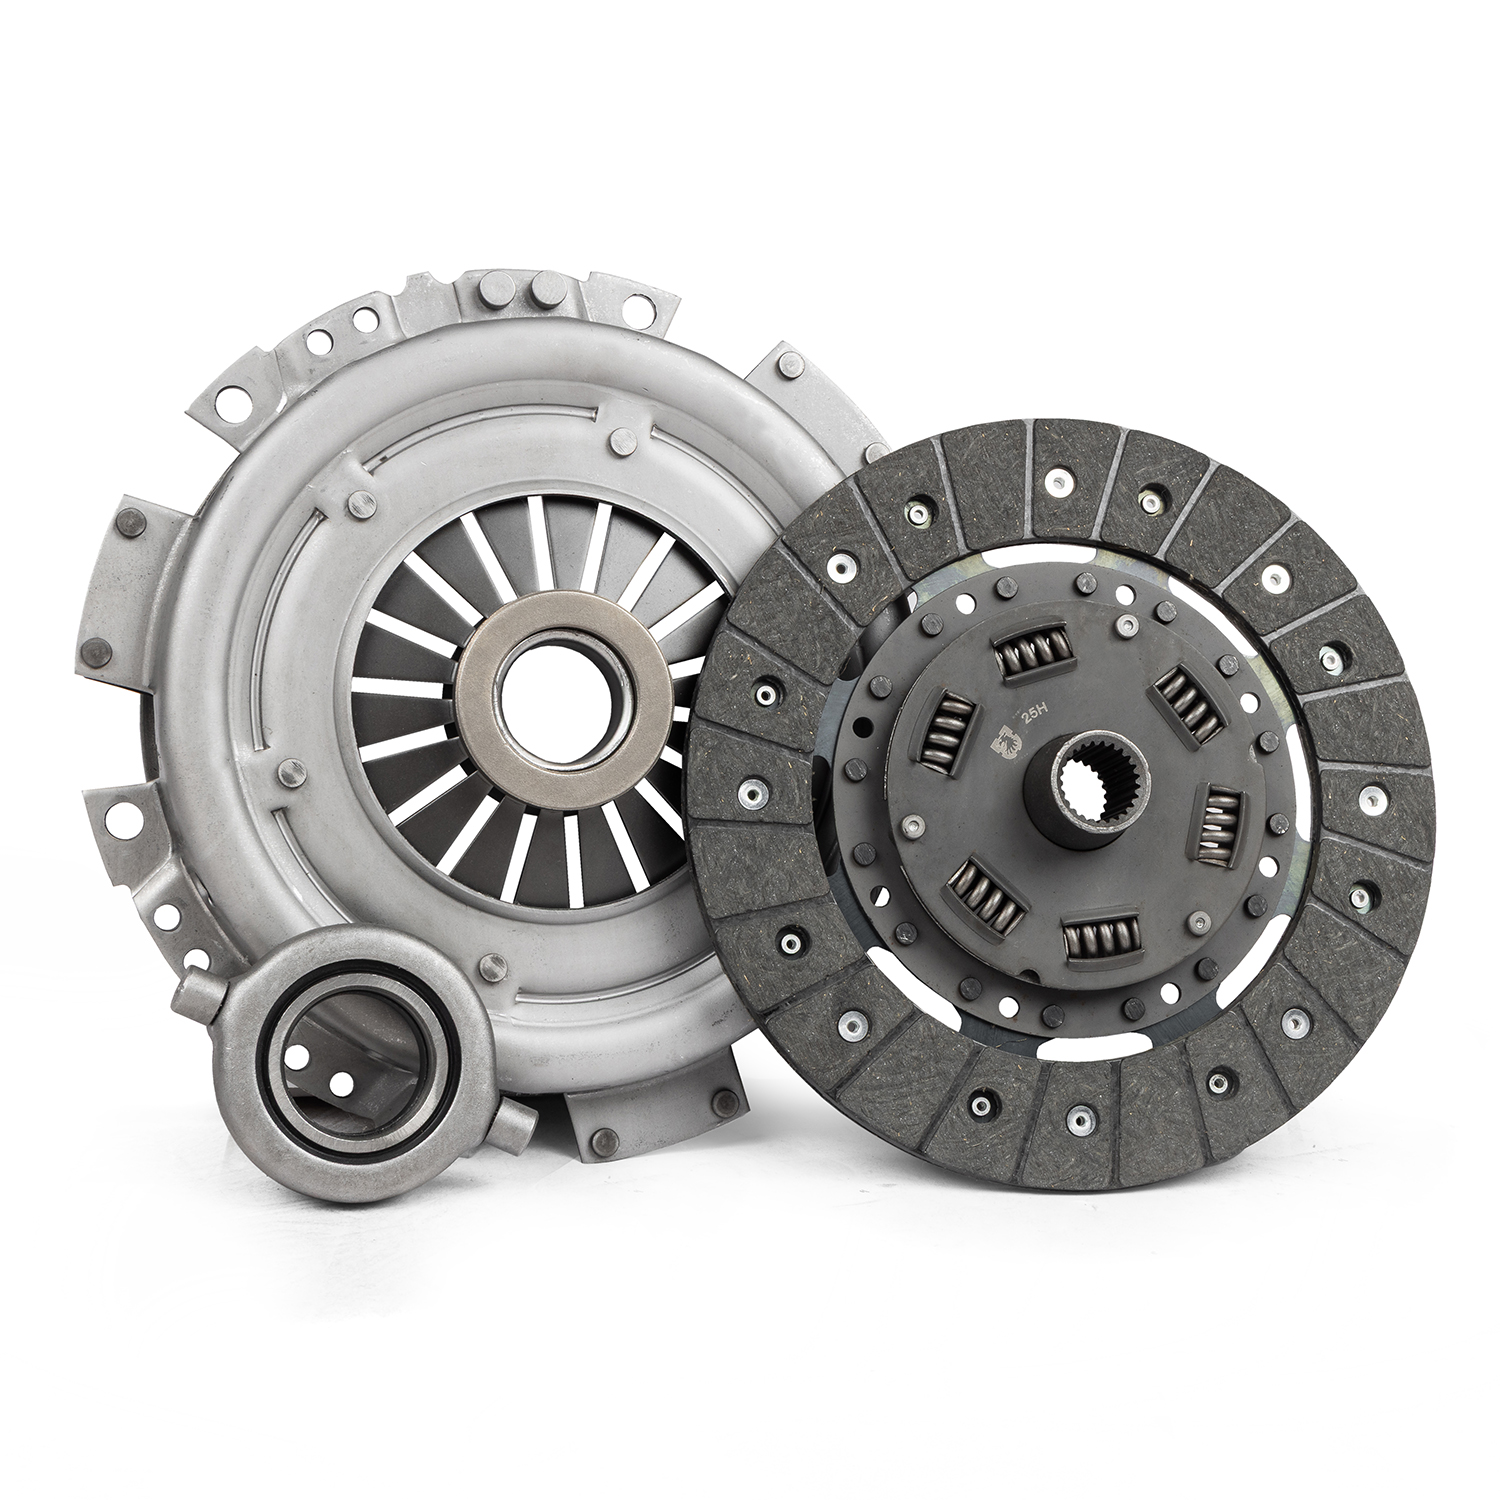
Every Clutch. Every Aircooled VW.
The complete Limebug guide to clutch identification, early and late release systems, 180mm and 200mm assemblies, gearbox compatibility and getting everything working as it should.
Volkswagen kept the aircooled clutch relatively simple. More than half a century of running changes, engine swaps, gearbox replacements and conversions has made identifying the correct replacement considerably less straightforward.
An early gearbox behind a later 1600cc engine. A 200mm flywheel working with an early release mechanism. A replacement transmission carrying components from a different production year. None of these arrangements is particularly unusual in the world of classic Volkswagens.
This is why selecting a clutch based purely on the registration year can be a mistake.
Fortunately, getting it right is straightforward once you know what you’re looking at.
Two things matter: the release mechanism inside your gearbox and the diameter of the clutch fitted to your flywheel.
We’ll cover both, explain what changed between early and late systems, and identify the components needed to put everything together correctly.
1. Start With the Gearbox, Not the Registration
The most significant distinction between early and late aircooled Volkswagen clutch systems is how the release bearing operates.
Volkswagen used two principal arrangements: an early, non-guided release bearing and a later bearing that travels along a fixed guide sleeve.
The transition occurred around the 1971 model-year period on many applications, although exact changeover points vary between models and markets.
With the engine removed, look directly into the gearbox bellhousing.
Early Clutch — No Guide Sleeve
IMAGE: Early gearbox bellhousing — supplied reference photograph
Look at the gearbox input shaft in the centre of the bellhousing.
On the early system, the shaft is exposed. There is no fixed metal guide sleeve surrounding it.
The release bearing is supported by the clutch operating shaft, commonly called the clutch fork or cross-shaft. When the clutch pedal is pressed, the operating shaft moves the bearing forwards against the pressure plate.
The matching pressure plate incorporates a raised centre thrust ring, often described as a centre pad or collar.
This provides the correct contact surface for the early bearing.
Identifying an early system:
- Exposed gearbox input shaft without a fixed guide sleeve.
- Early release bearing supported by the operating shaft.
- Pressure plate with a centre thrust ring.
- Early-compatible operating shaft and bearing retaining clips.
If your gearbox matches this arrangement, you’re looking for an early-type clutch assembly, regardless of the year of the vehicle or the engine fitted.
Late Clutch — Guide Sleeve Fitted
IMAGE: Later gearbox bellhousing — supplied reference photograph
The later arrangement is easily identified by the metal guide sleeve surrounding the gearbox input shaft.
Rather than relying on the operating shaft alone to control bearing alignment, the release bearing slides along this fixed tube.
This keeps the bearing aligned with the clutch centreline as it moves towards and away from the pressure plate.
The matching pressure plate normally has no raised centre thrust ring. The bearing acts against the pressure plate’s intended release surface.
Identifying a late system:
- Fixed metal guide sleeve surrounding the input shaft.
- Guided release bearing that slides along the sleeve.
- Ringless pressure plate.
- Compatible later operating shaft and retaining arrangement.
The guide sleeve is the clearest visual distinction, but the bearing, shaft and pressure plate must also be compatible.
Early and Late at a Glance
| Component | Early system | Late system |
|---|---|---|
| Input shaft guide sleeve | Not fitted | Fitted |
| Release bearing | Non-guided | Guided |
| Pressure plate | Centre thrust ring | Ringless |
| Operating shaft | Early arrangement | Later arrangement |
| Common applications | Earlier gearboxes | Later gearboxes |
Limebug Workshop Note
Don’t assume that finding a guide sleeve tells you everything about the gearbox. Previous owners may have converted or replaced components.
Inspect the operating shaft and bearing arrangement as well, particularly if the gearbox’s history is unknown.
2. The Clutch Fork — An Often-Overlooked Difference
IMAGE: Early and late clutch operating shafts side by side — supplied comparison photograph
The gearbox operating shaft is another important difference between release systems.
Both designs perform the same basic job. Pulling the clutch cable rotates the shaft, moving the release bearing towards the pressure plate.
However, the shape of the bearing contact arms and the method of retaining the bearing differ.
Early Operating Shaft
The early shaft is designed to support and operate the non-guided release bearing.
The arms engage with the bearing’s corresponding retaining arrangement, allowing it to move towards the pressure plate’s centre thrust ring.
Later Operating Shaft
The later arrangement uses an operating shaft designed for the guided release bearing.
Because the bearing travels along a fixed sleeve, the shaft and retaining clips are configured differently.
There are also variations in shaft dimensions and bearing attachment arrangements within Volkswagen production, so not every component described as late is automatically interchangeable.
Can You Convert an Early Gearbox to a Late Clutch?
In many cases a conversion is possible, but it isn’t simply a matter of fitting a later pressure plate.
Depending on the gearbox, you may need a compatible guide sleeve mounting arrangement, operating shaft, bearing, retaining clips and pressure plate.
Some early bellhousings do not provide the appropriate mounting provision for a conventional later guide sleeve without modification or additional components.
The complete release geometry must work together.
Don’t mix early and late components simply because they appear to fit. Incorrect contact geometry can damage the pressure plate, release bearing or operating mechanism.
3. 180mm or 200mm? Identifying the Clutch Diameter
With the release system identified, the next job is establishing the clutch diameter.
The two most common sizes across classic aircooled Volkswagen passenger-car applications are 180mm and 200mm.
These measurements refer to the nominal friction disc diameter, not the overall diameter of the pressure plate or flywheel.
180mm Clutches
Commonly associated with many earlier and smaller-capacity engines, including various 1200cc and 1300cc applications.
However, engine capacity alone does not confirm the clutch size.
A replacement engine, altered flywheel or previous conversion may have changed the original specification.
200mm Clutches
Commonly associated with many 1500cc and 1600cc engines, as well as numerous later and modified applications.
The larger nominal friction diameter provides a different torque-transmission capability when combined with the appropriate pressure plate, but it must match the installed flywheel.
How to Measure
With the engine removed:
- Inspect the existing clutch disc for identification markings.
- Measure the outside diameter of the friction lining.
- Confirm whether the assembly is nominally 180mm or 200mm.
- Check that the flywheel friction surface and pressure plate match.
- Inspect the flywheel for previous machining, damage or conversion work.
If you’re assembling an engine from individual components, confirm flywheel, crankshaft, starter and bellhousing compatibility separately.
What About 6V and 12V Flywheels?
Electrical system history can offer clues about the original engine arrangement, but it doesn’t guarantee the clutch diameter.
Volkswagen flywheels, starter ring gears, bellhousings and related components were changed or adapted in many conversions.
A vehicle converted from 6V to 12V may retain some original drivetrain components while using others from later applications.
Measure what’s fitted. Don’t order from assumptions.
4. Find Your Correct Limebug Clutch Kit
With the gearbox release arrangement and clutch diameter confirmed, the selection becomes much easier.
| Your gearbox | Clutch diameter | Limebug product |
|---|---|---|
| Early — non-guided | 180mm | Clutch Kit — 020030001 |
| Late — guided | 180mm | Clutch Kit — 020030017 |
| Early — non-guided | 200mm | Clutch Kit — 020030018 |
| Late — guided | 200mm | Clutch Kit — 020030019 |
| Late — guided, Sachs option | 200mm | Sachs Clutch Kit — 020030014 |
180mm Early Clutch Kit — With Centre Pad
Limebug SKU: 020030001
For compatible 180mm flywheel applications using the early non-guided clutch release mechanism.
180mm Late Clutch Kit — Without Centre Pad
Limebug SKU: 020030017
For compatible 180mm flywheel applications equipped with the later guided release bearing arrangement.
200mm Early Clutch Kit — With Centre Pad
Limebug SKU: 020030018
For compatible 200mm flywheel applications retaining the early non-guided release system.
200mm Late Clutch Kit — Without Centre Pad
Limebug SKU: 020030019
For suitable 200mm flywheel applications using the later guided release bearing.
Sachs 200mm Late Clutch Kit
Limebug SKU: 020030014
Sachs alternative for compatible 200mm guided-release configurations.
Before ordering: Confirm the release arrangement, diameter, flywheel specification and clutch disc compatibility. Check individual product listings for kit contents and application-specific requirements.
Browse All Limebug Clutch & Flywheel Components
5. How the Aircooled VW Clutch Actually Works
The clutch sits between the engine flywheel and the gearbox, connecting and disconnecting engine power as required.
Unlike hydraulic systems fitted to many modern vehicles, conventional classic aircooled Volkswagen manual transmissions generally use a mechanical cable to operate the clutch.
With Your Foot Off the Pedal
The pressure plate clamps the friction disc against the flywheel.
The friction disc’s splined centre engages with the gearbox input shaft, transmitting engine torque into the transmission.
The release bearing is unloaded when the system is correctly adjusted.
When You Press the Pedal
The clutch cable pulls the gearbox operating arm, rotating the cross-shaft inside the bellhousing.
This moves the release bearing against the pressure plate’s release mechanism, reducing its clamping force.
The friction disc is then free to rotate independently of the flywheel, allowing a gear change.
When You Release the Pedal
The pressure plate progressively clamps the friction disc against the flywheel again.
This gradually restores the mechanical connection between engine and gearbox.
A healthy clutch should engage smoothly and consistently without significant judder, slipping or unexpected changes in pedal effort.
6. Clutch Cable Adjustment — Getting the Pedal Right
Correct clutch cable adjustment is essential to the operation and lifespan of the assembly.
Too much free play can prevent the clutch from disengaging fully. Too little can leave the release bearing permanently loaded and may contribute to clutch slipping or premature wear.
What Is Clutch Pedal Free Play?
Free play is the small amount of pedal movement before the release bearing begins applying significant force to the pressure plate.
Many conventional Beetle-type applications use an adjustment around 10–20mm measured at the pedal, but specifications vary by model and release mechanism.
Always use the correct workshop figure for the vehicle.
Adjusting the Cable
The adjustment is normally located at the gearbox operating arm, where the clutch cable passes through the Bowden tube.
Depending on the vehicle and installed components, adjustment may be by a threaded nut or wing nut.
To adjust:
- Measure the existing pedal free play.
- Inspect the clutch cable and operating arm for damage.
- Locate the cable adjustment nut or wing nut.
- Tighten the adjustment to reduce free play.
- Loosen the adjustment to increase free play.
- Make small adjustments, checking pedal movement after each change.
- Confirm that the clutch disengages fully and that the release bearing isn’t continuously loaded.
If the adjustment changes unexpectedly, investigate wear in the cable, pedal hook, release mechanism or associated components.
A worn operating system cannot always be corrected with cable adjustment alone.
7. The Bowden Tube — Small Part, Big Difference
The Bowden tube is the flexible curved conduit carrying the clutch cable between the chassis and gearbox.
It looks straightforward, but its shape is essential to smooth clutch engagement.
The engine and gearbox move slightly on their mountings as power is applied and removed. Without sufficient flexibility in the cable’s path, this movement can alter cable tension during engagement.
The Bowden tube is designed to accommodate this movement.
Why the Curve Matters
A Bowden tube with insufficient curvature can contribute to clutch judder, particularly when pulling away.
The clutch begins engaging, drivetrain movement alters cable tension, and the resulting changes can produce a repeated grab-and-release sensation.
A properly installed tube helps isolate that movement from the clutch operating mechanism.
Checking the Bowden Tube
Inspect the tube for cracking, corrosion, damaged ends, binding or incorrect seating.
Also check that the curve is appropriate for the particular vehicle.
Many classic VW specifications describe a Bowden tube deflection in the region of 25–30mm, although the required measurement and method depend on the model.
Adjustment is commonly made using suitable shims at the gearbox mounting end.
Limebug Workshop Note
If a new clutch judders immediately after installation, don’t automatically blame the friction disc or pressure plate.
Check the Bowden tube, engine and gearbox mountings, flywheel condition and clutch cable operation before removing the engine again.
8. Replacing a Clutch? Inspect These Parts While You’re There
Removing an aircooled VW engine is relatively straightforward compared with many modern vehicles, but nobody wants to repeat the job because of a worn bearing or overlooked oil leak.
With the engine out and gearbox accessible, take the opportunity to inspect the complete system.
Flywheel
Check for heat marks, scoring, cracks and uneven wear.
A damaged flywheel surface can cause judder, slipping and inconsistent engagement even with a new clutch.
If machining is required, the correct flywheel geometry and specified dimensions must be maintained.
Early Release Bearing — SKU 020030009
OE reference 111-141-165/AF.
For compatible early non-guided release arrangements.
Check for roughness, excessive movement, noise and visible damage.
Late Release Bearing — SKU 020030008
OE reference 013-141-165/C.
For compatible guided release arrangements.
The replacement bearing must match the gearbox’s operating system.
Release Bearing Guide Sleeve — SKU 020060030
On late gearboxes, inspect the guide sleeve for wear, scoring and secure mounting.
Grooves or damaged surfaces can interfere with release bearing travel.
Operating Shaft and Retaining Clips
Check both operating arms for wear or damage, and inspect the shaft bushes and retaining arrangement.
Excessive play can prevent correct bearing alignment and reduce effective release movement.
Early Release Bearing Retaining Clips — SKU 020030003
Replacement retaining clips for the compatible early release bearing arrangement.
1961–71 Operating Shaft Repair Kit — SKU 020030006
For specified early operating shaft and bush arrangements.
View Operating Shaft Repair Kit
Flywheel and Gearbox Oil Seals
Oil contamination is one of the quickest ways to ruin an otherwise healthy clutch.
Inspect the engine flywheel oil seal and gearbox input shaft seal before refitting the engine.
Check the relevant mating surfaces and sealing arrangements.
Flywheel Oil Seal — SKU 020030002
For compatible flywheel sealing applications.
Input Shaft and Pilot Bearing
Inspect the gearbox input shaft splines for damage, corrosion and abnormal wear.
Check the applicable pilot bearing for smooth operation and correct support of the input shaft.
Clutch Cable
Check for damaged strands, corrosion and signs of stretching or binding.
Also inspect the pedal hook and cable attachment points.
Final Assembly
Ensure the friction disc is correctly orientated and centred with a suitable alignment tool.
Follow the clutch and vehicle manufacturer’s fastening specifications.
If the engine doesn’t slide correctly into position, stop and identify the cause. Never use bellhousing fasteners to force incompatible or misaligned components together.
9. Common Clutch Problems — What to Check First
A poorly operating clutch doesn’t always mean the clutch itself has failed.
Cable adjustment, operating mechanism wear, drivetrain mountings and flywheel condition can all produce symptoms that resemble a worn clutch assembly.
| Symptom | What to investigate |
|---|---|
| Engine revs rise without acceleration | Clutch slipping, contamination, pressure plate condition or incorrect adjustment |
| Shuddering when pulling away | Bowden tube, drivetrain mounts, flywheel surface or friction disc contamination |
| Difficult first or reverse gear selection | Clutch drag, excessive free play or incomplete release |
| Noise when depressing the pedal | Release bearing, pressure plate or operating shaft components |
| Heavy pedal | Binding cable, shaft bushes or pressure plate specification |
| Pedal suddenly loses resistance | Broken cable, pedal hook or operating mechanism |
| Engagement point changes unexpectedly | Cable, adjustment hardware, operating mechanism or mounting movement |
Slipping Under Load
A slipping clutch is often most obvious under acceleration in a higher gear.
The engine speed rises without a corresponding increase in road speed.
Before replacing the clutch, check that the cable has sufficient free play and that the release bearing isn’t holding the pressure plate partially disengaged.
If adjustment is correct, inspect for worn friction linings, oil contamination and pressure plate defects.
Judder When Pulling Away
Clutch judder can result from uneven engagement, contamination, flywheel condition or drivetrain movement.
The Bowden tube is a particularly important check on cable-operated Volkswagen systems.
Worn engine and gearbox mountings can make the problem considerably worse.
Difficult Gear Changes
If reverse gear grinds or first gear becomes difficult to select while stationary, the clutch may not be disengaging fully.
Check pedal free play and cable condition, then investigate the release mechanism.
Remember that worn gearbox components can also cause poor gear selection.
Noise When Pressing the Clutch
Noise that changes as the clutch pedal is operated may indicate release bearing or pressure plate problems.
However, other rotating components can produce similar symptoms.
Identify the source before replacing parts.
10. Early and Late Clutch Systems — Frequently Asked Questions
What year did Volkswagen change from early to late clutches?
The guided release system appeared around the 1971 model-year period on many applications, but precise changeovers vary by model, market and transmission.
Gearbox replacements are common, so inspect the actual release system rather than relying on a date.
Does a 1600cc engine always use a 200mm clutch?
No.
Although 200mm is common on many 1600cc applications, the installed flywheel determines the clutch diameter.
An engine may have been assembled with different components from its original factory arrangement.
Can I fit an early pressure plate to a late gearbox?
Only where the pressure plate is specifically compatible with the guided release bearing arrangement.
Some pressure plates have removable centre thrust rings, but this feature is not universal.
Never remove a ring unless the manufacturer explicitly approves that configuration.
Can I fit a late clutch to an early gearbox?
A correctly engineered conversion may be possible, but requires compatible release components.
Simply installing a later bearing and ringless pressure plate into an early non-guided system is not a suitable conversion.
Should I replace the release bearing when fitting a new clutch?
Generally, it’s sensible to replace a worn or questionable release bearing while the engine is removed.
Check that the replacement is correct for the fitted gearbox system.
Why does my new clutch judder?
A new clutch can still judder if the Bowden tube is incorrectly positioned, the flywheel is damaged, drivetrain mountings are worn or the friction surfaces are contaminated.
Inspect the complete installation before assuming the new clutch is defective.
Can I identify the clutch without removing the engine?
Gearbox codes and service records can provide clues, but they cannot guarantee that the internal components are unchanged.
Direct inspection of the bellhousing is generally the most reliable method of confirming the release arrangement.
The Right Clutch Starts With the Right Identification
Volkswagen’s aircooled clutch is a straightforward mechanical system when all its components are correctly matched.
The complications come from mixing parts across production changes, converted engines and replacement gearboxes.
The solution is equally straightforward.
Identify the release system. Measure the clutch diameter. Check the components that make it work.
With those details established, choosing the correct replacement becomes considerably easier.
From original restorations to heavily modified aircooled drivetrains, Limebug supplies clutch kits, release bearings, operating components, seals and related parts to help keep classic Volkswagens on the road.
Explore Limebug Clutch & Flywheel Components
Limebug Technical Centre — British Made Engineering, Innovative Design, Classic Restoration Parts Specialists.
This guide covers common classic Volkswagen clutch release systems, principally 180mm and 200mm applications. Some commercial, special-purpose and modified drivetrains use different clutch specifications. Always check the relevant workshop documentation and installed components before ordering or fitting parts.