The Ultimate Spring Plate Guide
Spring Plates Explained Getting to know torsion bars, spring plates and what they do
The following is a technical article written for better understanding of the rear air-cooled VW suspension as well as our products. For the majority of people, the rear VW suspension is little understood and more often misunderstood.
Why does my ride quality change when I lower or raise with factory spring plates?
There are several reasons for this. The easiest way to think about this is that a lowered stock VW is operating outside of the factory geometry in the torsion housing. You see the spring plate only has a limited distance that it was designed to articulate (travel) in between. This space that limits the spring plate travel is often referred to as the torsion housing. The travel is limited by a lower stopper and an upper stopper, in addition to the factory rubber bump stop. When you lower or raise your vehicle you literally force your spring plate to operate outside of its designed travel range. There are three specific factors that affect your ride quality:
1) The spring plate articulation
2) Torsion in the system
3) Toe-in on swing axles
The spring plate articulation is the factory travel range. It is the angular distance between the lower stopper and the upper stopper. Torsion is the resistance that is found in the torsion bar. The further up you push the spring plate the more torsion you are loading in the system, kind of like a heavy duty rat trap!
When your lower your VW’s rear suspension with factory plates you have made it impossible for the spring plate to articulate correctly, and that is why it will smash into the upper stopper when going over bumps. Not good! In general, the spring plate should be able to articulate downward about 25% of the total travel range and should be able to articulate about 75% upward, respectively.
Torsion in the system changes when you lower a VW and the initial torsion (pre-load) changes drastically and this significantly changes your car’s ride characteristics, as we will see later.
Why Shouldn’t I Notch my Plate?
Figures 3 and 5 demonstrate the position of a stock spring plate in a vehicle that has been both lowered and raised about 2.5 inches. You can see how close a factory spring plate rides to the stoppers when a vehicle’s height is changed. In extreme cases it takes “Notching” (removal of material) of a stock spring plate to fit into these positions.
A stress concentration should be regarded as a very bad thing because it magnifies all the forces that are found in the spring plate and concentrates it in one tiny area. Think of it like this; have you every seen someone lay on a bed of nails or tried that yourself? I have. It is easily done because your entire body weight is spread out over a large surface area (the sum of all the nails). But what would happen if all of the nails suddenly retracted except for one? You could consider this a giant stress concentration! When it comes to a spring plate, all of the forces that are distributed along the spring plate are magnified at the notch. The more jagged the cut it follows that the stress concentration will be higher. In addition steel is notorious for fatigue under cycling loads, which means that if it takes 5000 ft/lb to fail your plate now, in two years it may only take 3000 ft/lb. Fatigue and stress concentrations together are very bad! Even techniques such as rounding it or drilling the notch do not significantly improve the week spot on the plate. Now consider that the Volkswagen spring plate was made for economy, after all it was “the people’s car”. When someone takes this economy spring plate and puts a stress concentration in it they are seeking a disaster. Nobody knows when a notched plate will fail, but when it does you will lose control of your wheel and disaster will likely strike.
What do Bushings do?
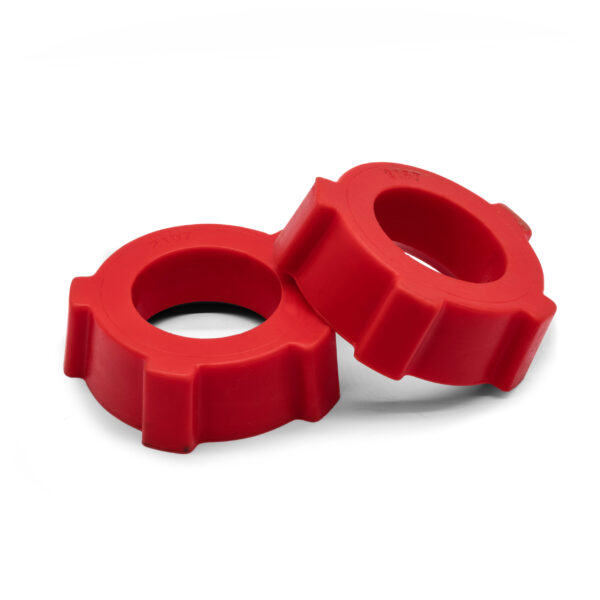
Bushings are actually an inexpensive bearing. You see spring plates were designed to to pivot about a fixed point; the torsion bar, and this is why bushings are located about the spline stub and torsion bar.
Ideally rolling element bearings (such as needle bearings) precisely locate the spring plate pivot point, however they prove to be the most expensive way to do this because of all the processes that they have to go through and the tolerances that they are manufactured to. They require grease and must be sealed so that they will not corrode. Yet in the end they are considered the best solution since they cannot deflect and will allow for rapid movement of the spring plate.
Secondarily are sleeve bearings (bronze bushings), which are less expensive yet still provide precise pivot point location. It is important to note that these bearings must also be properly lubricated so that excessive wear does not occur and so that corrosion does not occur.
Thirdly, and most commonly, bushings are used, in particular by Volkswagen. It can be reasoned that this was due to the economy nature of the vehicles. When it comes down to it, bushings get the job done. They are cheap and they do not need to be sealed since they can never rust. However, when considering bushings it is important to keep in mind that their purpose is to act as a bearing, that is to say they should be a pivot point that does not deflect. Their are two kind of bushings that are most commonly used: rubber and urethane.
So which kind of bushings are better? That question depends on your budget. From the discussion above it should be reasoned that harder is better. In my opinion urethane bushings give the best bang for your buck since they deflect less and are inexpensive. However, if only the best will do then rolling element bearings are unsurpassed!
What is a Torsion Bar?
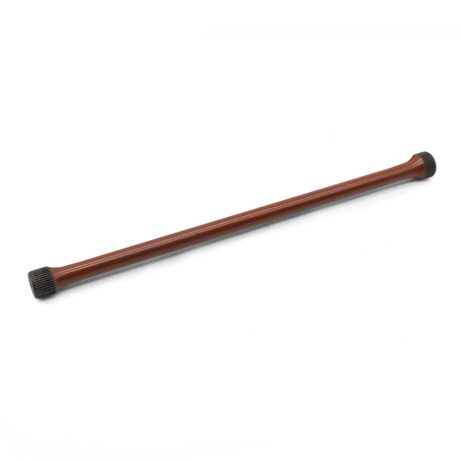
A torsion bar is a bar that delivers spring force (potential energy) in twist. That is to say that the more you twist it, the more it resists you. Volkswagen and Porsche used torsion bars very successfully for decades. Almost all of the air-cooled VW models use torsion bars, and the only difference between them are the lengths, diameters, and the stiffness. Other than that they are dimensionally equal (bus models use different torsion bars).
Every VW torsion bar (buses excluded) has 44 teeth (splines) on the outer end and 40 teeth on the inner end. Of course the stiffness of the torsion bars vary according to their lengths, diameters, and material properties. Stiffness is defined as the ability of the material to resist changes in shape (resistance to twisting in the case of the torsion bar). If follows that the thicker the torsion bar the higher its stiffness will be. Also transversely, the longer the torsion bar the less stiff it will be. That is why that in general the shorter torsion bars (21 3/4”) are stiffer than the longer torsion bars (26 9/16”) and are often sought after for both greater stiffness for performance as well as wheel clearance issues for buggies. The exception to this are high performance torsion bars that are manufactured at different diameters and lengths for increased performance.
What is Indexing?
Well there are a lot of definitions for indexing, but when it comes to Volkswagens the only definition that we are concerned with is indexing spring plates on the torsion bars. This procedure is often misunderstood, but is not that difficult to master. Indexing is the procedure of changing the angular position of a spring plate on a torsion bar with respect to the vehicle. Simply put indexing in a VW means that your torsion bar will fit in at any angle that you choose for your spring plate.
How is this possible?
Ok I know that this seems quite impossible, after all a spline precisely locates the spring plate, so it seems that you can either locate it at the given “notches” (or teeth) that are in the torsion bar and spring plate. For example you can either position the spring plate a “click” up or a click down, but there is no way to put the spring plate in the middle of the two clicks (teeth). Well the reality is even though there is a definite number of teeth on a torsion bar, there is practically an infinite number of positions that a torsion bar can fit into.
Now before you decide that I have lost my mind when I make a statement like this, give me a chance to explain what is going on. You see a torsion bar plays on a mathematical algorithm, otherwise known as “indexing”. The inside of a torsion bar has 40 teeth, while the outside has 44 teeth. The VW engineers were no fools when they designed them that way! Since the number of teeth are different with respect to each other this means that there is always a position for the spring plate that the torsion bar will fit into. You just have to find it.
How can you find this “Magic Position”?
As complicated as indexing may be mathematically, you don’t have to be a genius to find it. A given angle can be found by creeping up on it, so to speak. For example, say that you want to install your spring plates at exactly 20.5 degrees, but your spring plate only fits in either at 17 degrees on the one end or at 26 degrees at the other end. Choose the increment that is closest to 20.5 degrees, in this case 17 degrees, and note where the torsion bar fits with respect to the spring plate and chassis. Then, while maintaining the torsion bar to the spring plate, rotate the assembly one click in the inside splines (in the chassis of the car) with respect to the vehicle. Once you have done this, disengage the spring plate from the torsion bar and rotate it back one click. Once you put the angle finder back on it you will have noticed that that angle has been advanced to 17.8 degrees. If you keep doing this then you will eventually creep up on the angle that you want.
However, those astute mathematicians may have noticed that if one were to perform the procedure that I just wrote about that person would not be able to hit exactly 20.5 degrees. In fact one could only fall short to 20.3 degrees or overshoot to 21.1 degrees. This is nowhere near infinite, some might say. The answer – keep rotating. However since this is not practical in the real world, back off two clicks on one of the torsion bar and advance only one click on the other end. By doing this you will now hit an angle in between the two that you were at before. And the procedure can be repeated on, and on, and on, and on…
What makes this happen?
If you rotate the spring plate only one spline increment on the outside splines of the torsion bar, what you are doing is rotating that spring plate precisely 8.1818 degrees. That’s a rather large angle! That means that two clicks changes your vehicle’s height by over 4.64” or greater. Of course when you drop a factory spring plate that much the spring plate operates much closer to the upper stopper and bump stop if your vehicle still has it – and this is also why many people start notching their spring plates, so that the spring plate will clear the stopper (NEVER A GOOD IDEA). The opposite is also true for raised applications.
If you rotate the spring plate together with the torsion bar one spline increment on the inside splines of the torsion bar, the spring plate is being rotated precisely 9 degrees. That’s an even larger angle.
However, when you combine the two above techniques you get the best of both worlds. You get fine tune height adjustment. All you have to do is rotate the torsion bar alone one spline increment on the inside splines, and rotate the spring plate in the other direction on the torsion bar. This is possible because what you are doing in fact is adding one angle and subtracting the other, or literally (9 – 8.1818 = 0.8182) degrees. It is this small angular change that makes for this small height change.
The real magic happens when you perform this indexing procedure (forward on one end of the torsion bar and backward on the other end) so that the spring plate eventually rotates 360 degrees (which is not possible on an enclosed chassis. You see, it doesn’t return back to the same exact position that it started out as when it has been indexed exactly 360 degrees – it either falls short or passes it and enters into a new set of angulations. Keep indexing and guess what? The same phenomena will happen again, and on, and on, and on, and on…
The bottom line (not literally) is that a torsion bar can fit any given position that you want and you are not forced to live with a choose of predetermined “clicks”. Interesting, right?!
Can I do this an easier way???
Yes you can with dropped spring plates! Our spring plates are designed with an open end so that the torsion bar can slide through the front. That’s right, you do not have to put the torsion bar in first, take note of its angle, then install the spring plate over the top of it, note its angle and then repeat the procedure to find the angle that you are looking for like you have to do with other spring plates. We encourage our customers to forget about all of this indexing nonsense and just pull the torsion bars out entirely. Then install the inside bushing along with the spring plate and clamp it to the bottom stopper, noting the angle that you want (between 18 and 22 degrees usually). After this has been done install the torsion bar through the front. It will slip in through the spline stub and engage first on the inside splines. If you are lucky it will also engage on the splines on the spring plate. However, chances are that it won’t. But if you keep rotating the torsion bar on the inside splines you will find that “magic spot” (the spot)
where both the inside splines and outside splines line up at a predetermined angle) without having to think to much about it. Once you find this spot just smack the torsion bars in with a soft mallet, install the bushing housing, tighten the set screw if you have one, and load up the plate. Done!
What is Camber?
Camber may be defined as the angle of the wheel with respect the vertical access of the vehicle, or simply put it is wheel slant. It follows then that the “cambering effect” is the constant changes in camber as the vehicle drives down the road. If a vehicle has wheels that lean inward the vehicle is said to have negative camber, and if a vehicle has wheels that lean outward the vehicle is said to have positive camber. Usually on a performance street car about 2 degrees is desirable for cornering but not much.
Why Do Spring Plates Ride Better than Stock Spring Plates When my Car is Lowered or Raised?
Ok, so if this still seems a little bit confusing, I completely understand. There is a lot of calculation involved. However, all you have to do is see the YouTube video to observe my car easily absorbing all types of terrain. Drop/Raise Plates work well because torsion is retained in the system. Have you ever lowered, or seen someone lower a VW with factory spring plates? If you haven’t I encourage you to either google the procedure or look it up on YouTube. One thing that should stand out in your mind is that before the spring plate could be reindexed, it first had to be unloaded. Initial torsion is lost. Unloading a spring plate can be a dangerous process because it is under “preload” or “pre-torsion”. This means that stock spring plates are loaded much in the same way a rat trap is when cocked. This preload is CRITICAL for VWs to ride correctly. I want to reemphasis that preload is CRITICAL! You see Volkswagen designed the cars so that the instant they touched the ground the rear wheels already have a certain amount of force pushing away from the ground (torsion in the system).
Spring Plate Bushing Sizes Modell Year and the Inner and Outer workings of Spring Plates
Application Guide for stock VW OE Spring Plates:
- Early Swing Axle used 1 3/4 inch round
- 1950-1960 Type 1 Beetle use 1 7/8 inch round Inner with 1 7/8 knobbly Outer
- 1961-1968 Type 1 Beetle use 1 7/8 inch knobbly Inner with 1 3/4 knobbly Outer
- 1965-1968 Type 3 use 1 7/8 inch knobbly Inner with 1 7/8 knobby Outer
- 1969-1979 Type 1 Beetle or Type 3 use 1 7/8 inch knobbly Inner with 1 7/8 round Outer
- Type 2 all use same size 2, 3/8″ Smooth Inner and Outer
Application Guide for Limebug Spring Plates:
- Dropped Adjustable Spring Plates Type 1 Beetle use 2 inch Knobbly Inner with 1, 7/8 inch Knobbly Outer (Some Pre 1959 Beetles use Round Inner Bushings – It may be worth checking prior to ordering)
- Fixed Static Dropped Spring Plates Type 1 Beetle use 1,7/8 inch Knobbly Inner with 1, 7/8 Knobbly Outer
- Air Ride Plates Type 1 Beetle, 2 inch Knobbly Inner and Outer
Rear Suspension & Axle Types Swing Axle vs IRS the key differences?
Suspension Types
There are two basic types of classic VW suspension setups (not including Bus models), these are IRS and swing axle.
What are the differences?
The difference visually is most obvious when removing the engine or excessively lowering a vehicle. The “camber” effect is much more severe on Swing Axle vehicles as they have a single pivot point at the gearbox, meaning the relative position of the wheels in relation to height will dictate the camber of the wheel. I.e. gearbox low (lowered vehicle adds negative camber, raising it up adds positive camber.)
IRS rear ends reacte differently in that the camber of the wheel is mostly dictated by the fixing point of the irs to the gearbox/ torsion bar tube joint which is fixed from factory. Now when lowering or raising and IRS pan, positive and negative camber will still occur it is not for the reasons stated above, and is minimal in comparision.
Mechanically the differences is that swing axle suspensions actually use the axle as a suspension component, whereas IRS used the combination of the spring plate and arm and the suspension components and the only function of the axle is to deliver power:
Want to dig a little deeper?
- Swing Axle
- IRS (Independent Rear Suspension)
Is available in two configurations
1: Single Plate Style
2: Twin Plate Style
Note: that the IRS spring plate is a lot shorter than the swing axle. Make sure that you differentiate whether your IRS has the twin plates or just the single. That’s all there is to it! Well not exactly. It turns out that different years of vehicles used different lengths of torsion bars. But only three:
- 21 3/4” (Torsion bar does not stick out)
- 24 11/16” (Torsion bar sticks out about 3”)
- 26 9/16” (Torsion bar sticks out about 5.5”)
So that’s it. All that you need to know to order the right set of Drop / Raise Plates is your suspension type and the length of your torsion bars.
Years / Compatibility
The following is only accurate for US models:
- Anything after 1968 that is an an air-cooled suspension (411 models excluded) is IRS.
- Models up to 1958 were only swing axle and used 24 9/16” length torsion bars.
- 1958 to 1968 bugs were all swing axles and used 21 3/4” length torsion bars.
- Type 3s used 24 11/16” length torsion bars up to 1968.
- 1969 and later models (Things excluded) used 26 9/16” length torsion bars and were all IRS.
- All IRS models up to 1973 used twin spring plates. After 1973 all models were IRS using only a single spring plate.
- Thing Models were all IRS and used 24 11/16” length torsion bars.
VW Splines Explained: How to dial in your height
Method and tips to lowering the rear spring plates
To lower the rear of a Beetle, you simply unbolt the spring plate from the axle, pull it off its outer splines, rotate it either up to lower the car or down to raise it and pop it back on again. Here’s a few handy tips to help this process be as streamline as possible:
The first is that the spring plate covers that contain the rubber bushes rot and the bolts shear off when you try and remove them. This won’t stop you getting them off, but it will stop you getting them back on again. If this happens, your best bet is to heat the broken bit of bolt up with a blowlamp until it is cherry red and then try and twist it out with a pair of mole grips.
The second thing that often happens is that you either forget to mark the spring plate or, in trying to lever the spring plate off the outer splines, you pull it out of the inner splines instead. This isn’t a massive problem though as you’ll be able to feel (as you can’t see) where it goes back on and start again. Just don’t mix the bars up side for side, whatever you do.
To avoid losing your original position, mark the relative positions of the spring plate and torsion bar with paint when you’ve removed the cover plate and, once you’ve levered the spring plate off its stop, scribe its position relative to the chassis before you remove it. At least then you’ll have some reference points to go back to.
It’s also a good idea to support the axle end of the spring plate when you start pulling it away from the chassis. Once it comes off it’s ‘stop’ it can swing very fast toward the ground. Some people chain it up to the chassis and release it once it clears the stop while others use a jack. The jack option is what we’d use as you can gentle lower the plate down once it’s clear of the stop and continue to free it from the torsion bar splines.
How much should I lower by?
By far the most common confusion is how many splines to rotate the spring plate by, but the using handy table below, it will tell you all you need to know. Different people will give you different answers as to what the perfect amount to lower the back of a Beetle is, and it’ll often be a combination of inner and outer splines, but keeping it as simple as we can, one outer notch or spline equates to roughly two inches out of the suspension height. This doesn’t sound like much but you’ll notice it and it won’t cause you any extra grief.
Two outer splines (almost five inches) is excessive for a regularly used car, but then that might be the look you’re after.
While you’ve got your spring plates off you might as well change the inner and outer rubber bushes as well. You can see our full range available here
| Inner Spline | Outer Spline | Approximate drop |
| +1 | -1 | 0.55 cm |
| +2 | -2 | 1.10 cm |
| +3 | -3 | 1.65 cm |
| +4 | -4 | 2.20 cm |
| +5 | -5 | 2.75 cm |
| +6 | -6 | 3.30 cm |
| +7 | -7 | 3.85 cm |
| +8 | -8 | 4.40 cm |
| +9 | -9 | 4.95 cm |
| +10 | -10 | 5.50 cm |
| 0 | +1 | 5.50 cm |
| +1 | 0 | 6.00 cm |
| +2 | -1 | 6.55 cm |
| +3 | -2 | 7.10 cm |
| +4 | -3 | 7.65 cm |
| +5 | -4 | 8.20 cm |
| +6 | -5 | 8.75 cm |
| +7 | -6 | 9.30 cm |
| +8 | -7 | 9.85 cm |
| +9 | -8 | 10.40 cm |
| +10 | -9 | 11.00 cm |
| +11 | -10 | 11.55 cm |
| 0 | +2 | 11.00 cm |
| +2 | 0 | 12.00 cm |
Installation instructions for IRS Adjustable Spring Plates
1: Remove the original spring plate, this may require the removal of the wing on medium and long spline torsion bars. Be sure to make a mark on the lower body casting of the unsprung spring plate position to note when fitting your new spring plates
2: Set the adjustment block grub nut to make the front splined section of the spring plate’s top edge parallel to the rear plate before the notch.
3: If installing to a twin plate cap, remove the 4x spacing lugs off of the spring plate cover cap, this can be done using a cutter/ grinder.
4: Install the assembled spring plate and make the lower edge matches your previous mark you made earlier when removing the spring plate.
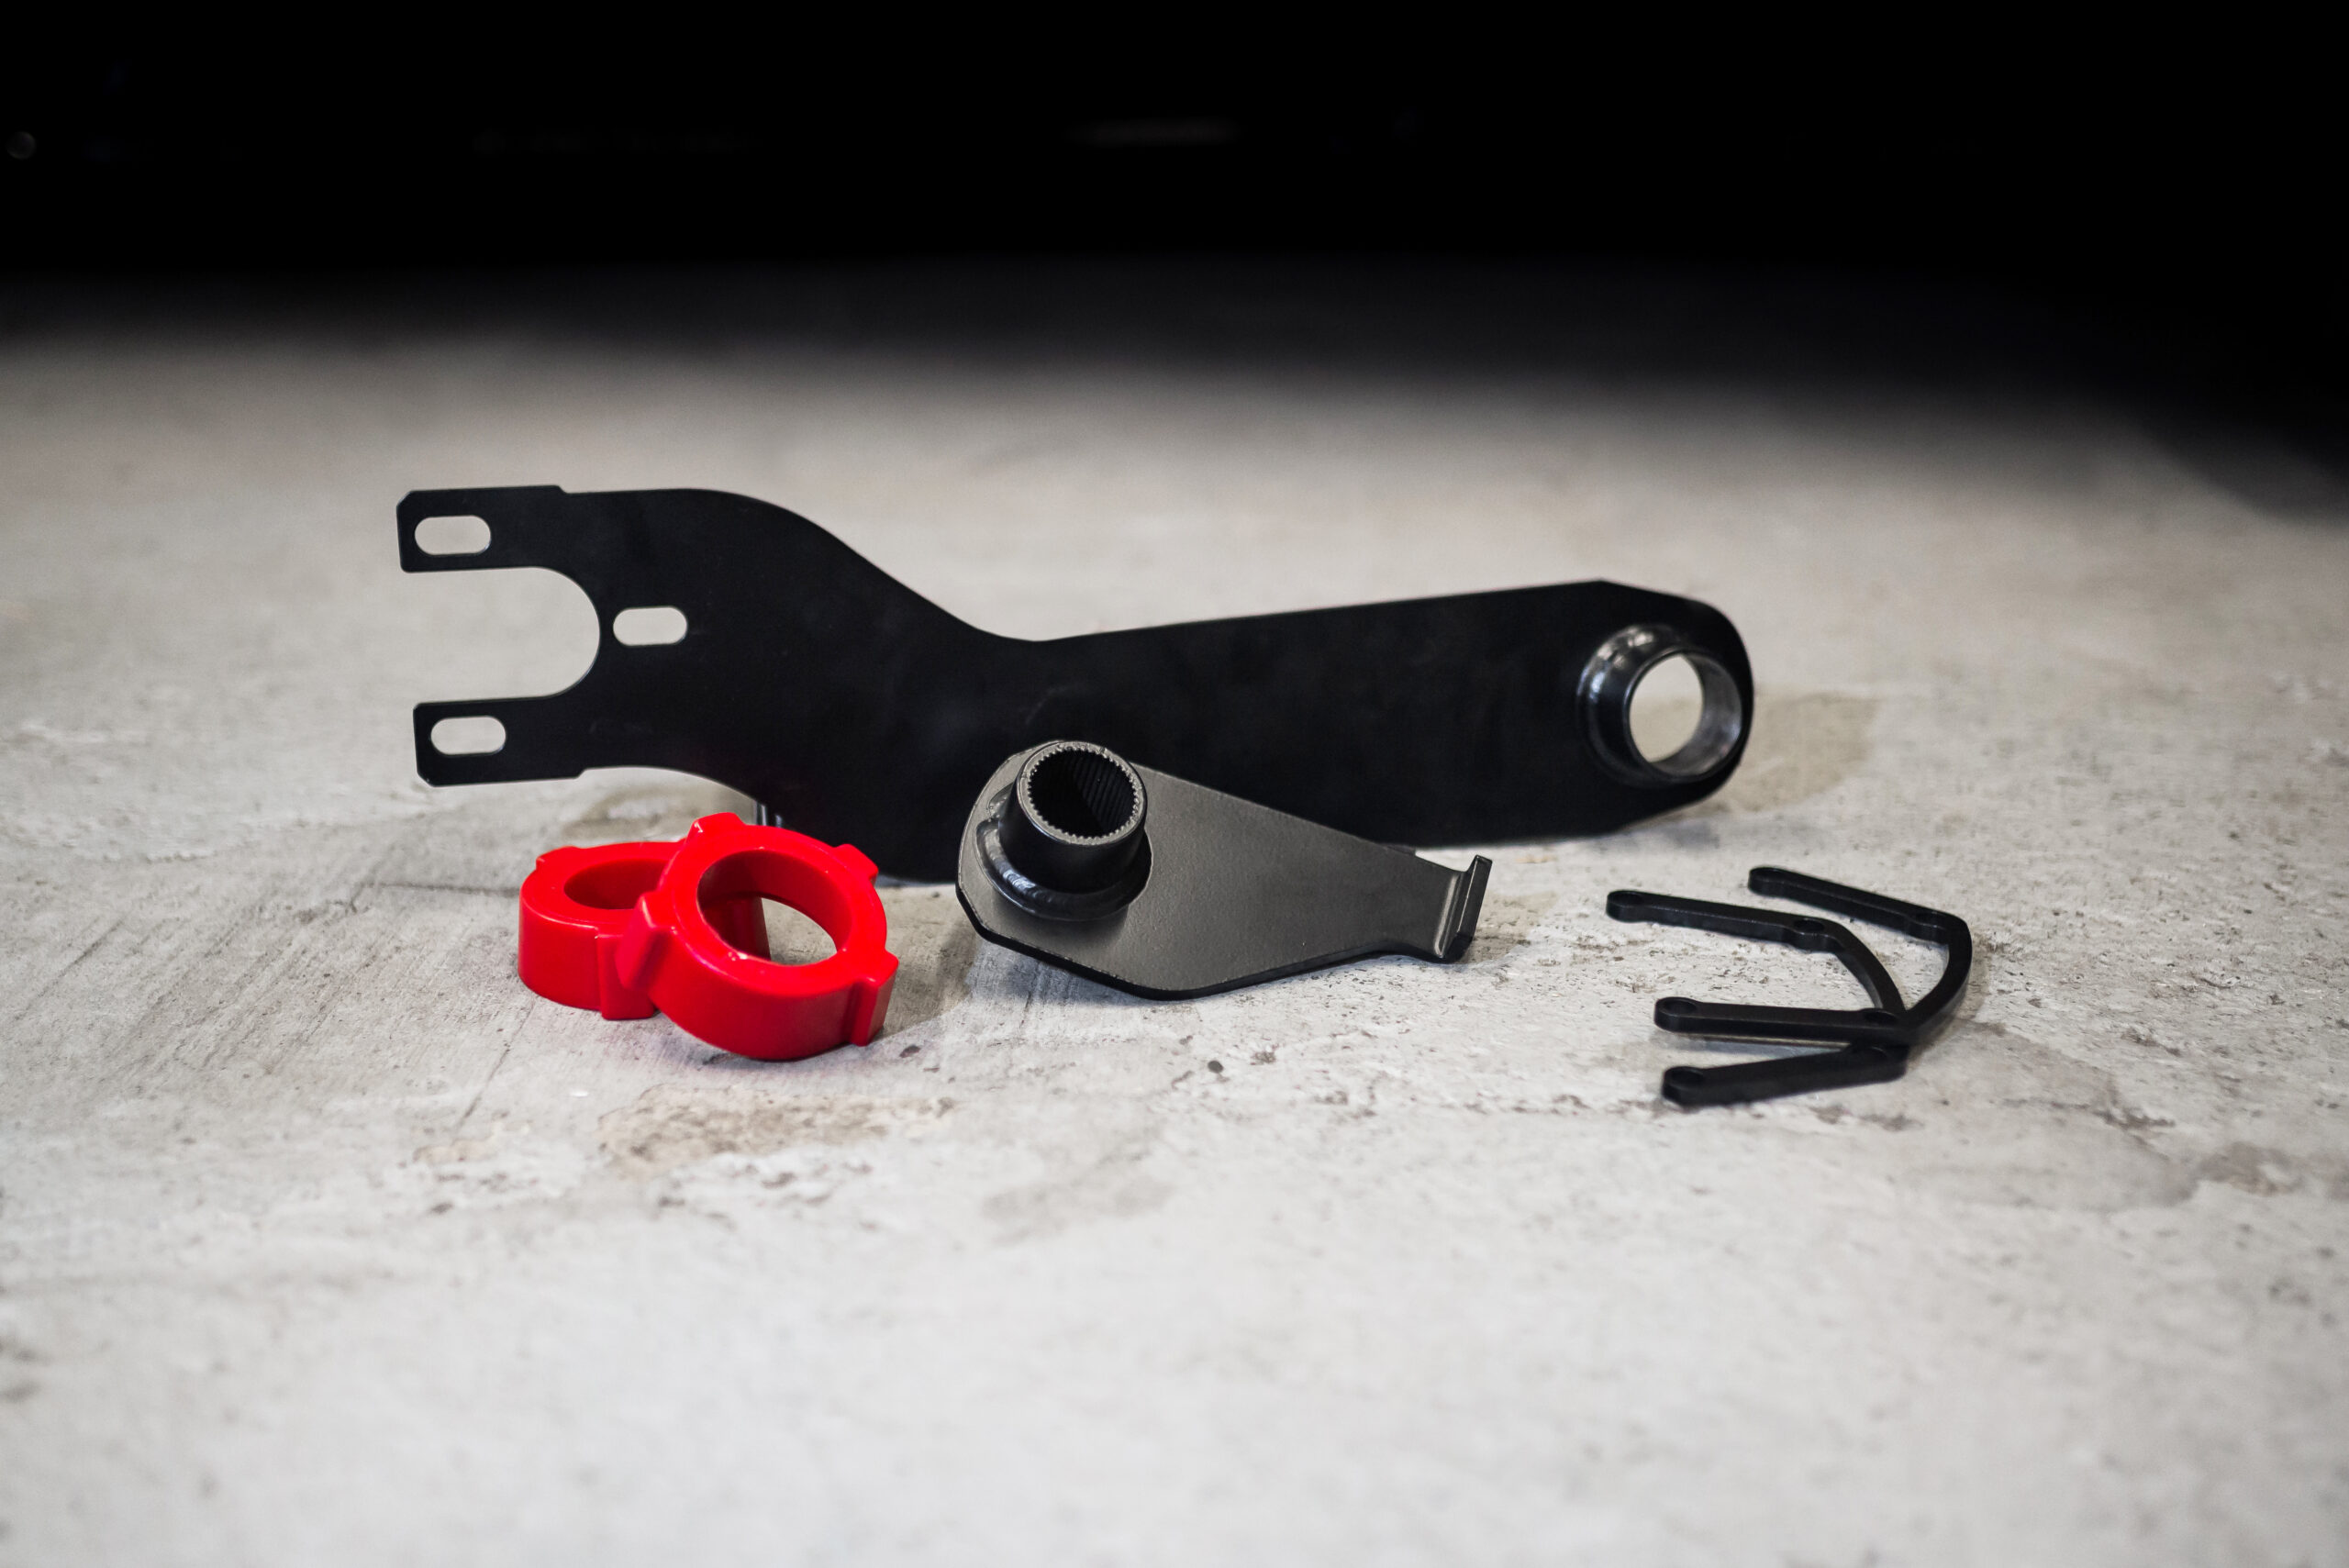
5: Install the original cap with the correct 2” inner bush and 1,7/8”, use a light smear of Multipurpose grease on the friction surfaces of both bushes Be sure to fit the supplied spacer (boomerang shaped plate with 4 holes in it) to space the cap off to allow for the additional thickness of your adjustable plates.
6: Raise the spring plate arm up slightly (using a jack or spring plate compressing tool), until it drops back to fully seated position. Then fully tighten blts
7: Re-attach all your bolts to the IRS Swing Arm.
