Table of Contents
ToggleAssembly of Three Piece Wheels / Split Rims
The Basics...
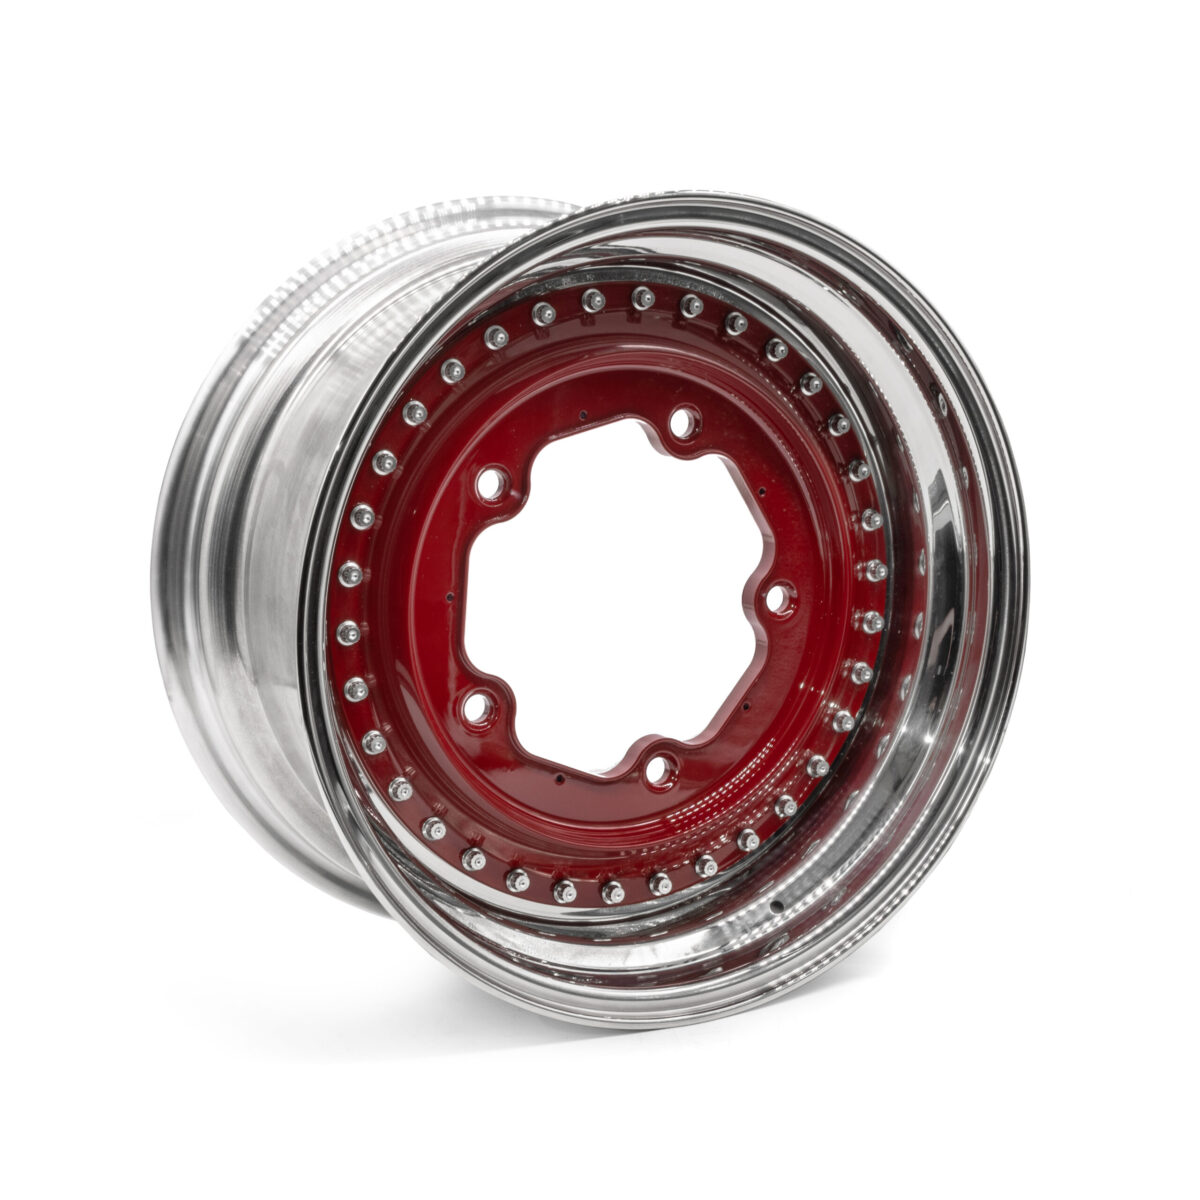
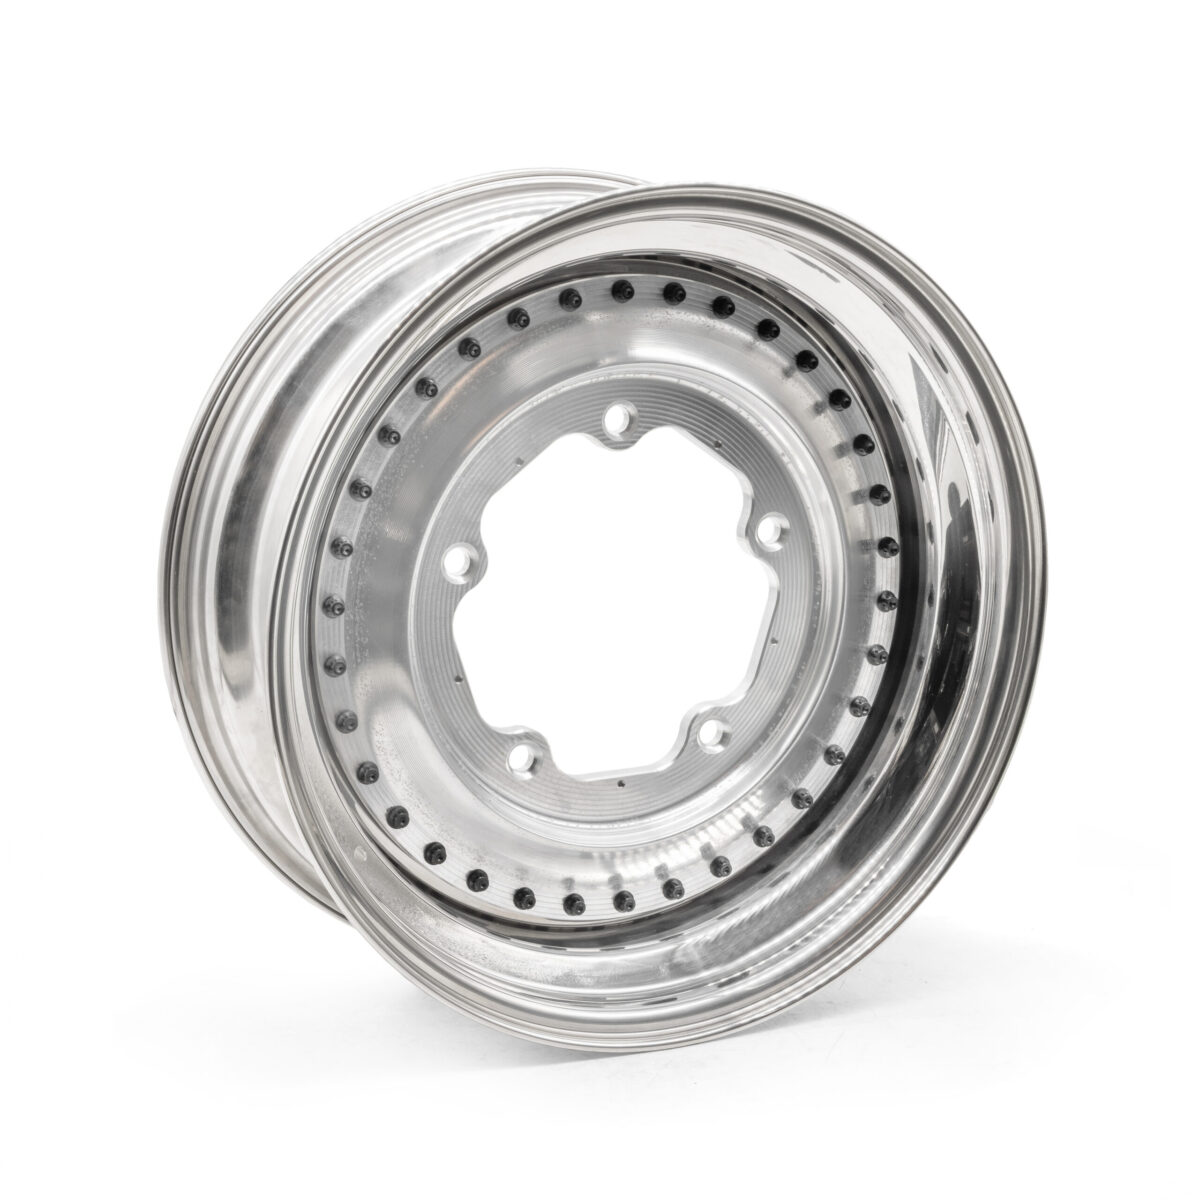
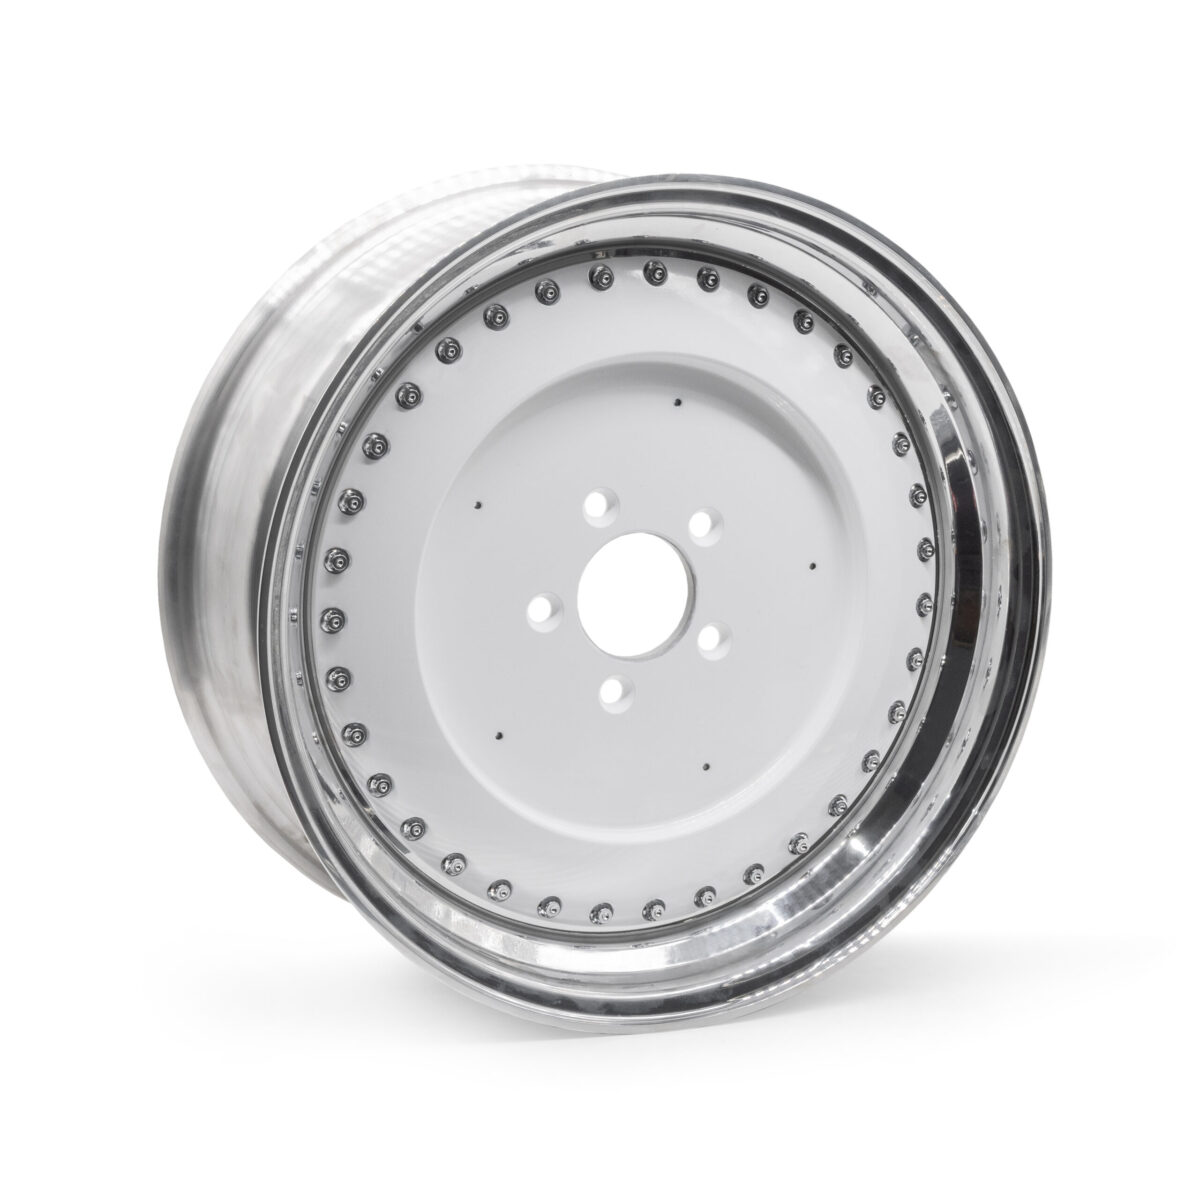
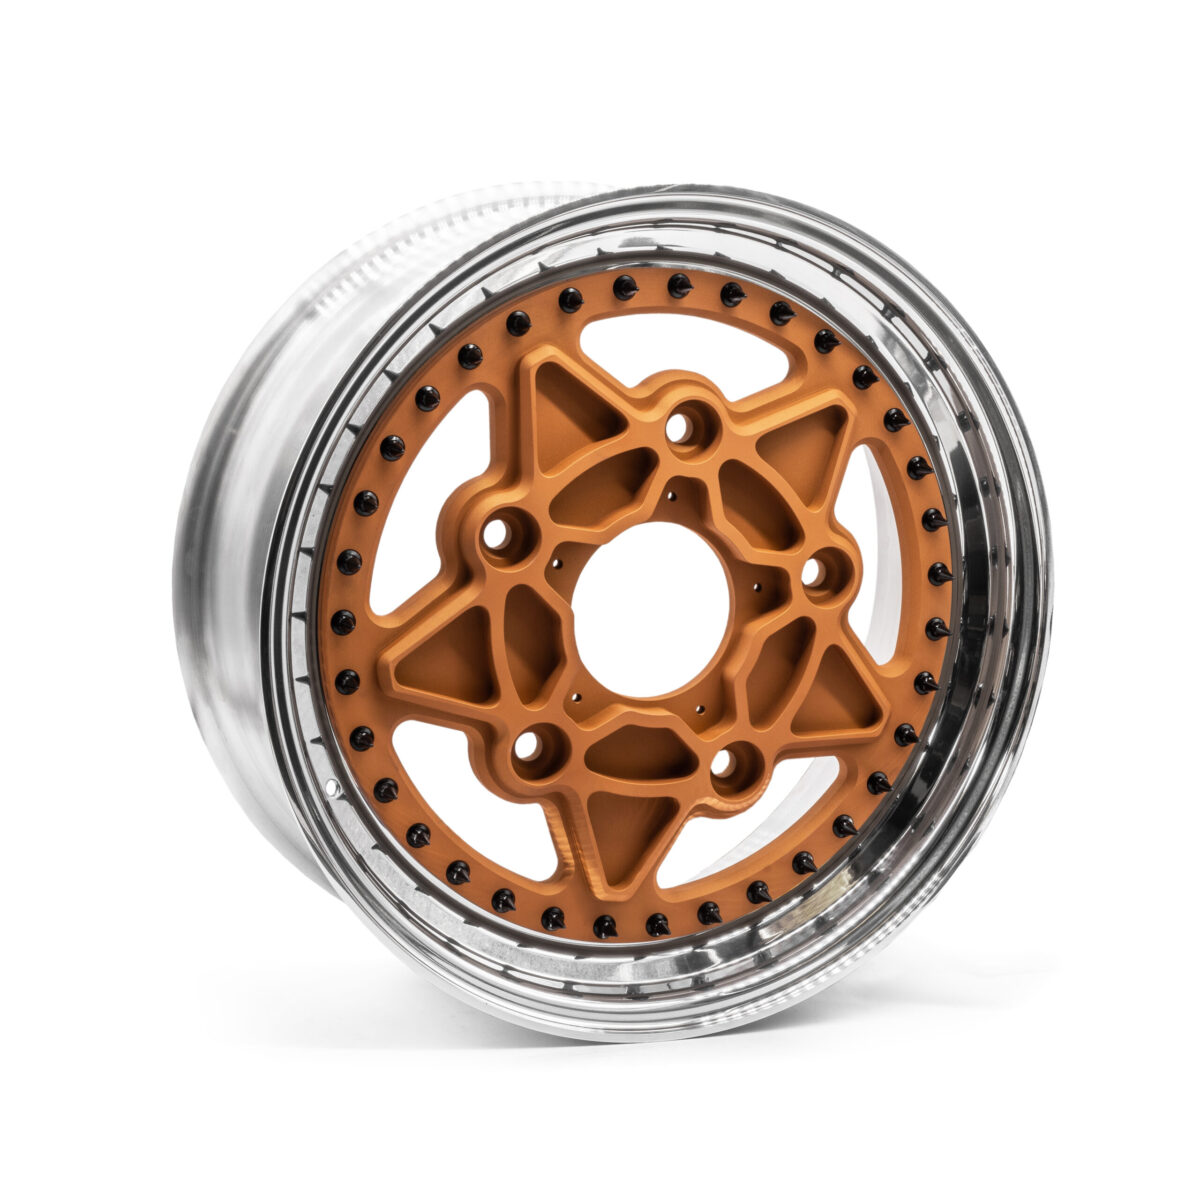
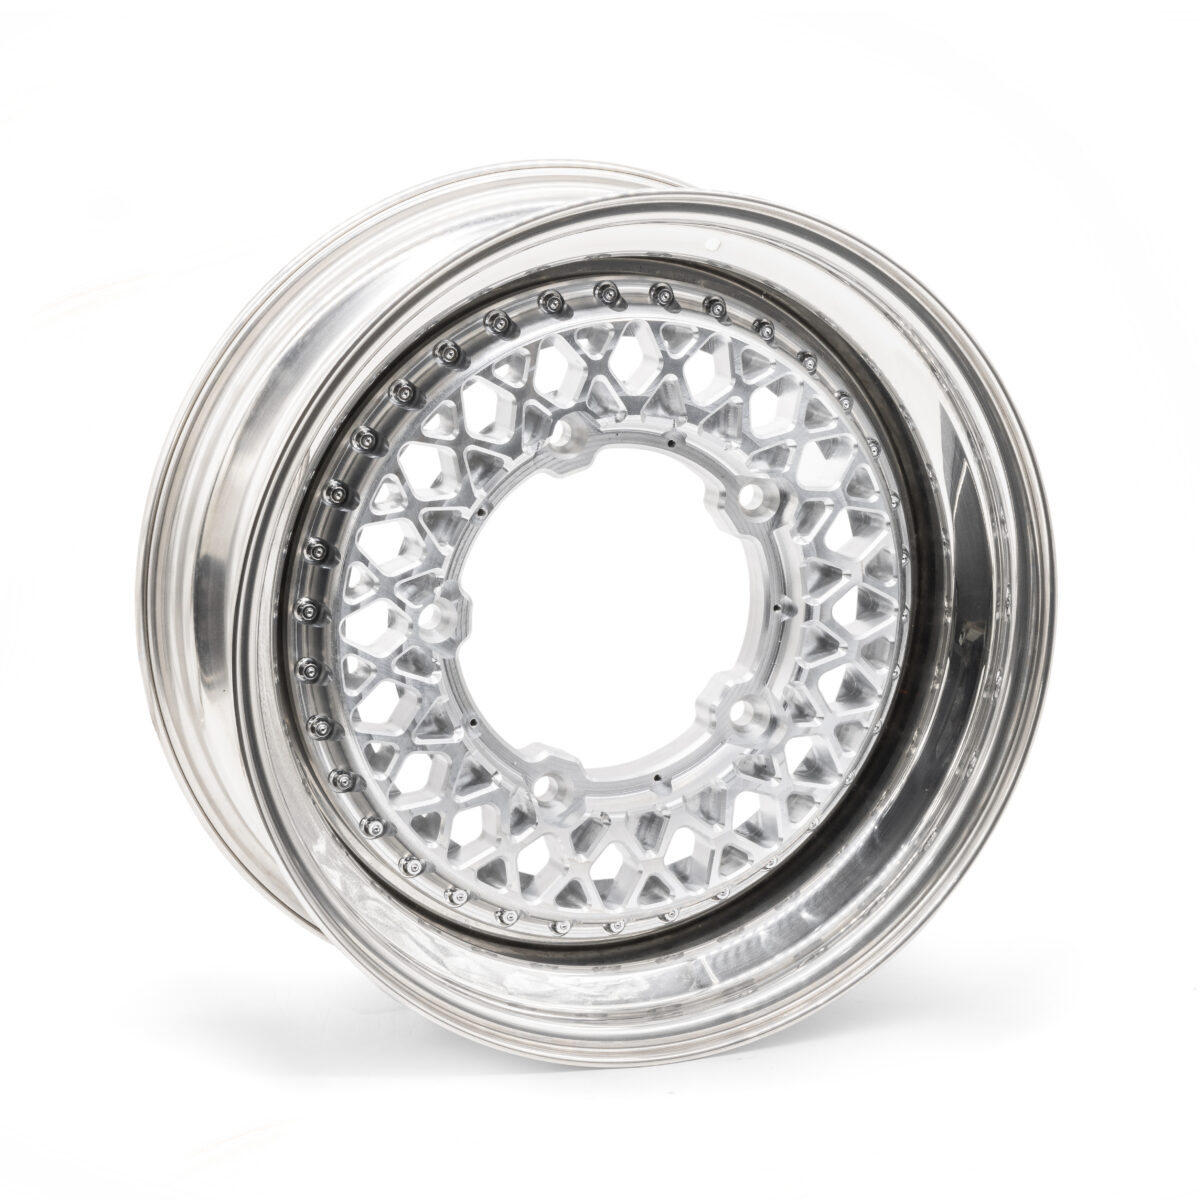
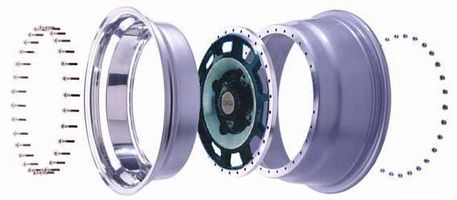
A Three Piece Wheel / Split rim consists of an Outer Lip (or Outer Rim), Barrel (or Inner Rim) and the wheel centre itself.
There are a number of rim bolts which seat on the wheel centre, go through the whole assembly, and are then fastened with a serrated nut bolted to the back of the mounting surface of the barrel.
Our range of Split Rims have the following quantity of bolts per wheel:
SM35: 35 Bolts
GT35: 35 Bolts
6335: 35 Bolts
OE34: 34 Bolts
FU30: 30 Bolts
Installation / Assembly Process
When assembling the components of the split rims together, its is important to tighten the bolts in a clock-work pattern (i.e. 12 o’clock, 6 o’clock, 9 o’clock, 3 o’clock, but its easier and acceptable to do them up in a rotational sequence, skipping every 2nd or 3rd bolt) Don’t do them up one after another, just to ensure the load is spread evenly across the surface.
It is vital to ensure a torque wrench is used during the assembly procedure. The final torque will be approx 27nm, but make sure you do them up a bit at a time. If you tighten to 27nm to start off with, you could potentially risk stripping the threads on your hardware. Start at 15nm, and go up in increments of 5nm. This can feel like it is taking a considerably long time however, for the safety of yourself, others and also to prevent damage to your wheels, it is definitely worth taking your time during this step.
We also recommend using light grade Loctite just to be safe, a drop on each bolt is sufficient, as the serrated nuts and the proper torquing will see that the bolts don’t loosen up regardless.
Sealing Process
Once you are happy that all wheels are torqued correctly, the next process is to seal the wheels; this ensures that the wheels are air-tight once a tyre is fitted. The lip and barrel are sealed with a bead of sealant around the outside circumference (which you can’t see once your tyre is mounted).
Apply your sealant and put a generous bead into the “valley” or the “crack” between the rim halves, all the way around until this channel is completely filled. Use a wet finger and apply light pressure to the sealant forcing it into the channel (You can run a strip of tape either side of the channel to ensure sealant has a tidy installation – however, please remember to remove the tape before sealant has set).
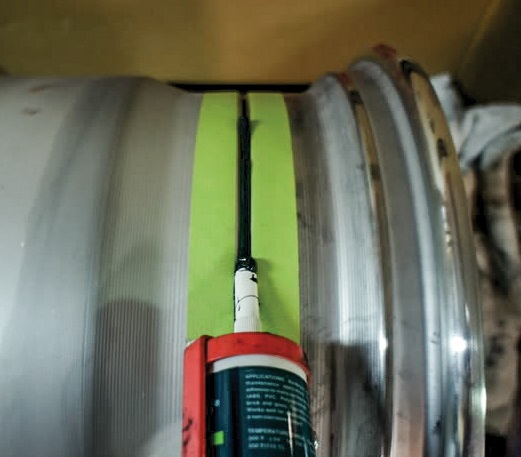
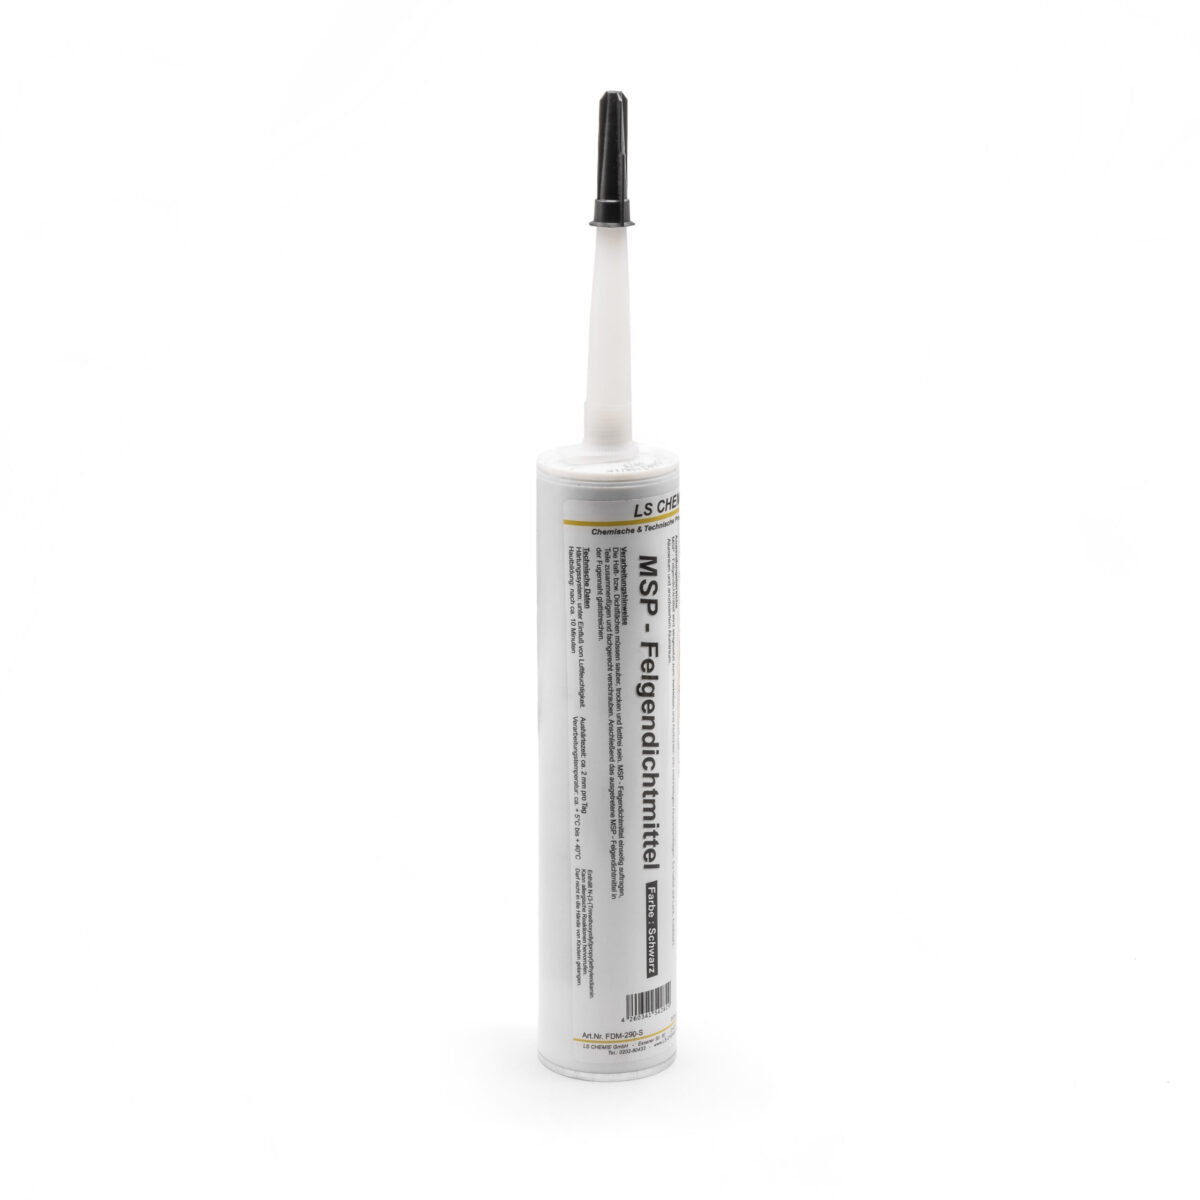
The sealing process ensures the split rim will hold air in the tyre, and prevent leaks. We recommend using a good quality sealant such as Felgendichtmittel which is available from us here – typically we find 1 tube is sufficient for a set of 16″ wheels.
Let the sealant 100% dry according to the manufacturers instructions – typically this is 24-48 hours. Once dry, you can proceed to mount tyres. Get them fitted up to your vehicle, take a step back and admire your work!
Purchase your Split Rim sealant here:
-
Professional Split Rim Wheel Sealant, Black, MSP Felgendichtmittel 290mm
In StockSKU: 050010004£21.95inc 20% VAT
View the Limebug custom wheel range here:
Privacy Overview
| Cookie | Duration | Description |
|---|---|---|
| cookielawinfo-checkbox-analytics | 11 months | This cookie is set by GDPR Cookie Consent plugin. The cookie is used to store the user consent for the cookies in the category "Analytics". |
| cookielawinfo-checkbox-functional | 11 months | The cookie is set by GDPR cookie consent to record the user consent for the cookies in the category "Functional". |
| cookielawinfo-checkbox-necessary | 11 months | This cookie is set by GDPR Cookie Consent plugin. The cookies is used to store the user consent for the cookies in the category "Necessary". |
| cookielawinfo-checkbox-others | 11 months | This cookie is set by GDPR Cookie Consent plugin. The cookie is used to store the user consent for the cookies in the category "Other. |
| cookielawinfo-checkbox-performance | 11 months | This cookie is set by GDPR Cookie Consent plugin. The cookie is used to store the user consent for the cookies in the category "Performance". |
| viewed_cookie_policy | 11 months | The cookie is set by the GDPR Cookie Consent plugin and is used to store whether or not user has consented to the use of cookies. It does not store any personal data. |
 Air Ride
 Static Suspension
 Beams
Beams
 Spring Plates
 Brakes
 Wheels
 Engine
 Gearbox
 Merchandise


